
Spring Joy Throw
A bit of inspiration behind the name:
I love a bias blanket. Working on the diagonal is a great way to add extra texture and with this self striping yarn you get an exciting mix of whimsy! I used this simple DK which you can easily go up or down hook size to accommodate gauge. If you’d prefer to use a bulky or super bulky, just adjust your increases and decreases as stated, in the notes section of this pattern.

METHOD Crotchet
DIFFICULTY Beginner Plus
SIZES Throw
DESCRIPTION
A quick and cute tote that will take you all the way through Spring and Summer! Big enough for trips to the beach, library or movies, wherever you fancy to go that day! Seamless with little half petal shapes rounding the top of the bag for an extra dose of sunshine and outdoors.
YARN
Lion Brand Yarns, DK weight #3, Meowth [125-249E] Mandala Bonus Bundle, 1181 yards, 1080 m, 10.5 oz, 300 g, Fiber is 100% Acrylic
Skeins needed: 1.25 skeins
Hook
US I (5.5 mm)
NOTIONS
Stitch Marker, Scissors
Yarn Needle
GAUGE
10 sts x 8 rows = 4” (10 cm) of hdc
NOTIONS
Yarn Needle, Scissors
GAUGE
(blocked) = 13 sts x 9 rows = 4” (10 cm) of the dc V-Stitch.

Spring Joy Throw – A Colorful, Textured Crochet Blanket
There’s something special about a project that brings both joy while stitching and joy when snuggled under. That’s exactly what the Spring Joy Throw turned out to be for me—a bright, cozy blanket full of texture, color, and happiness.
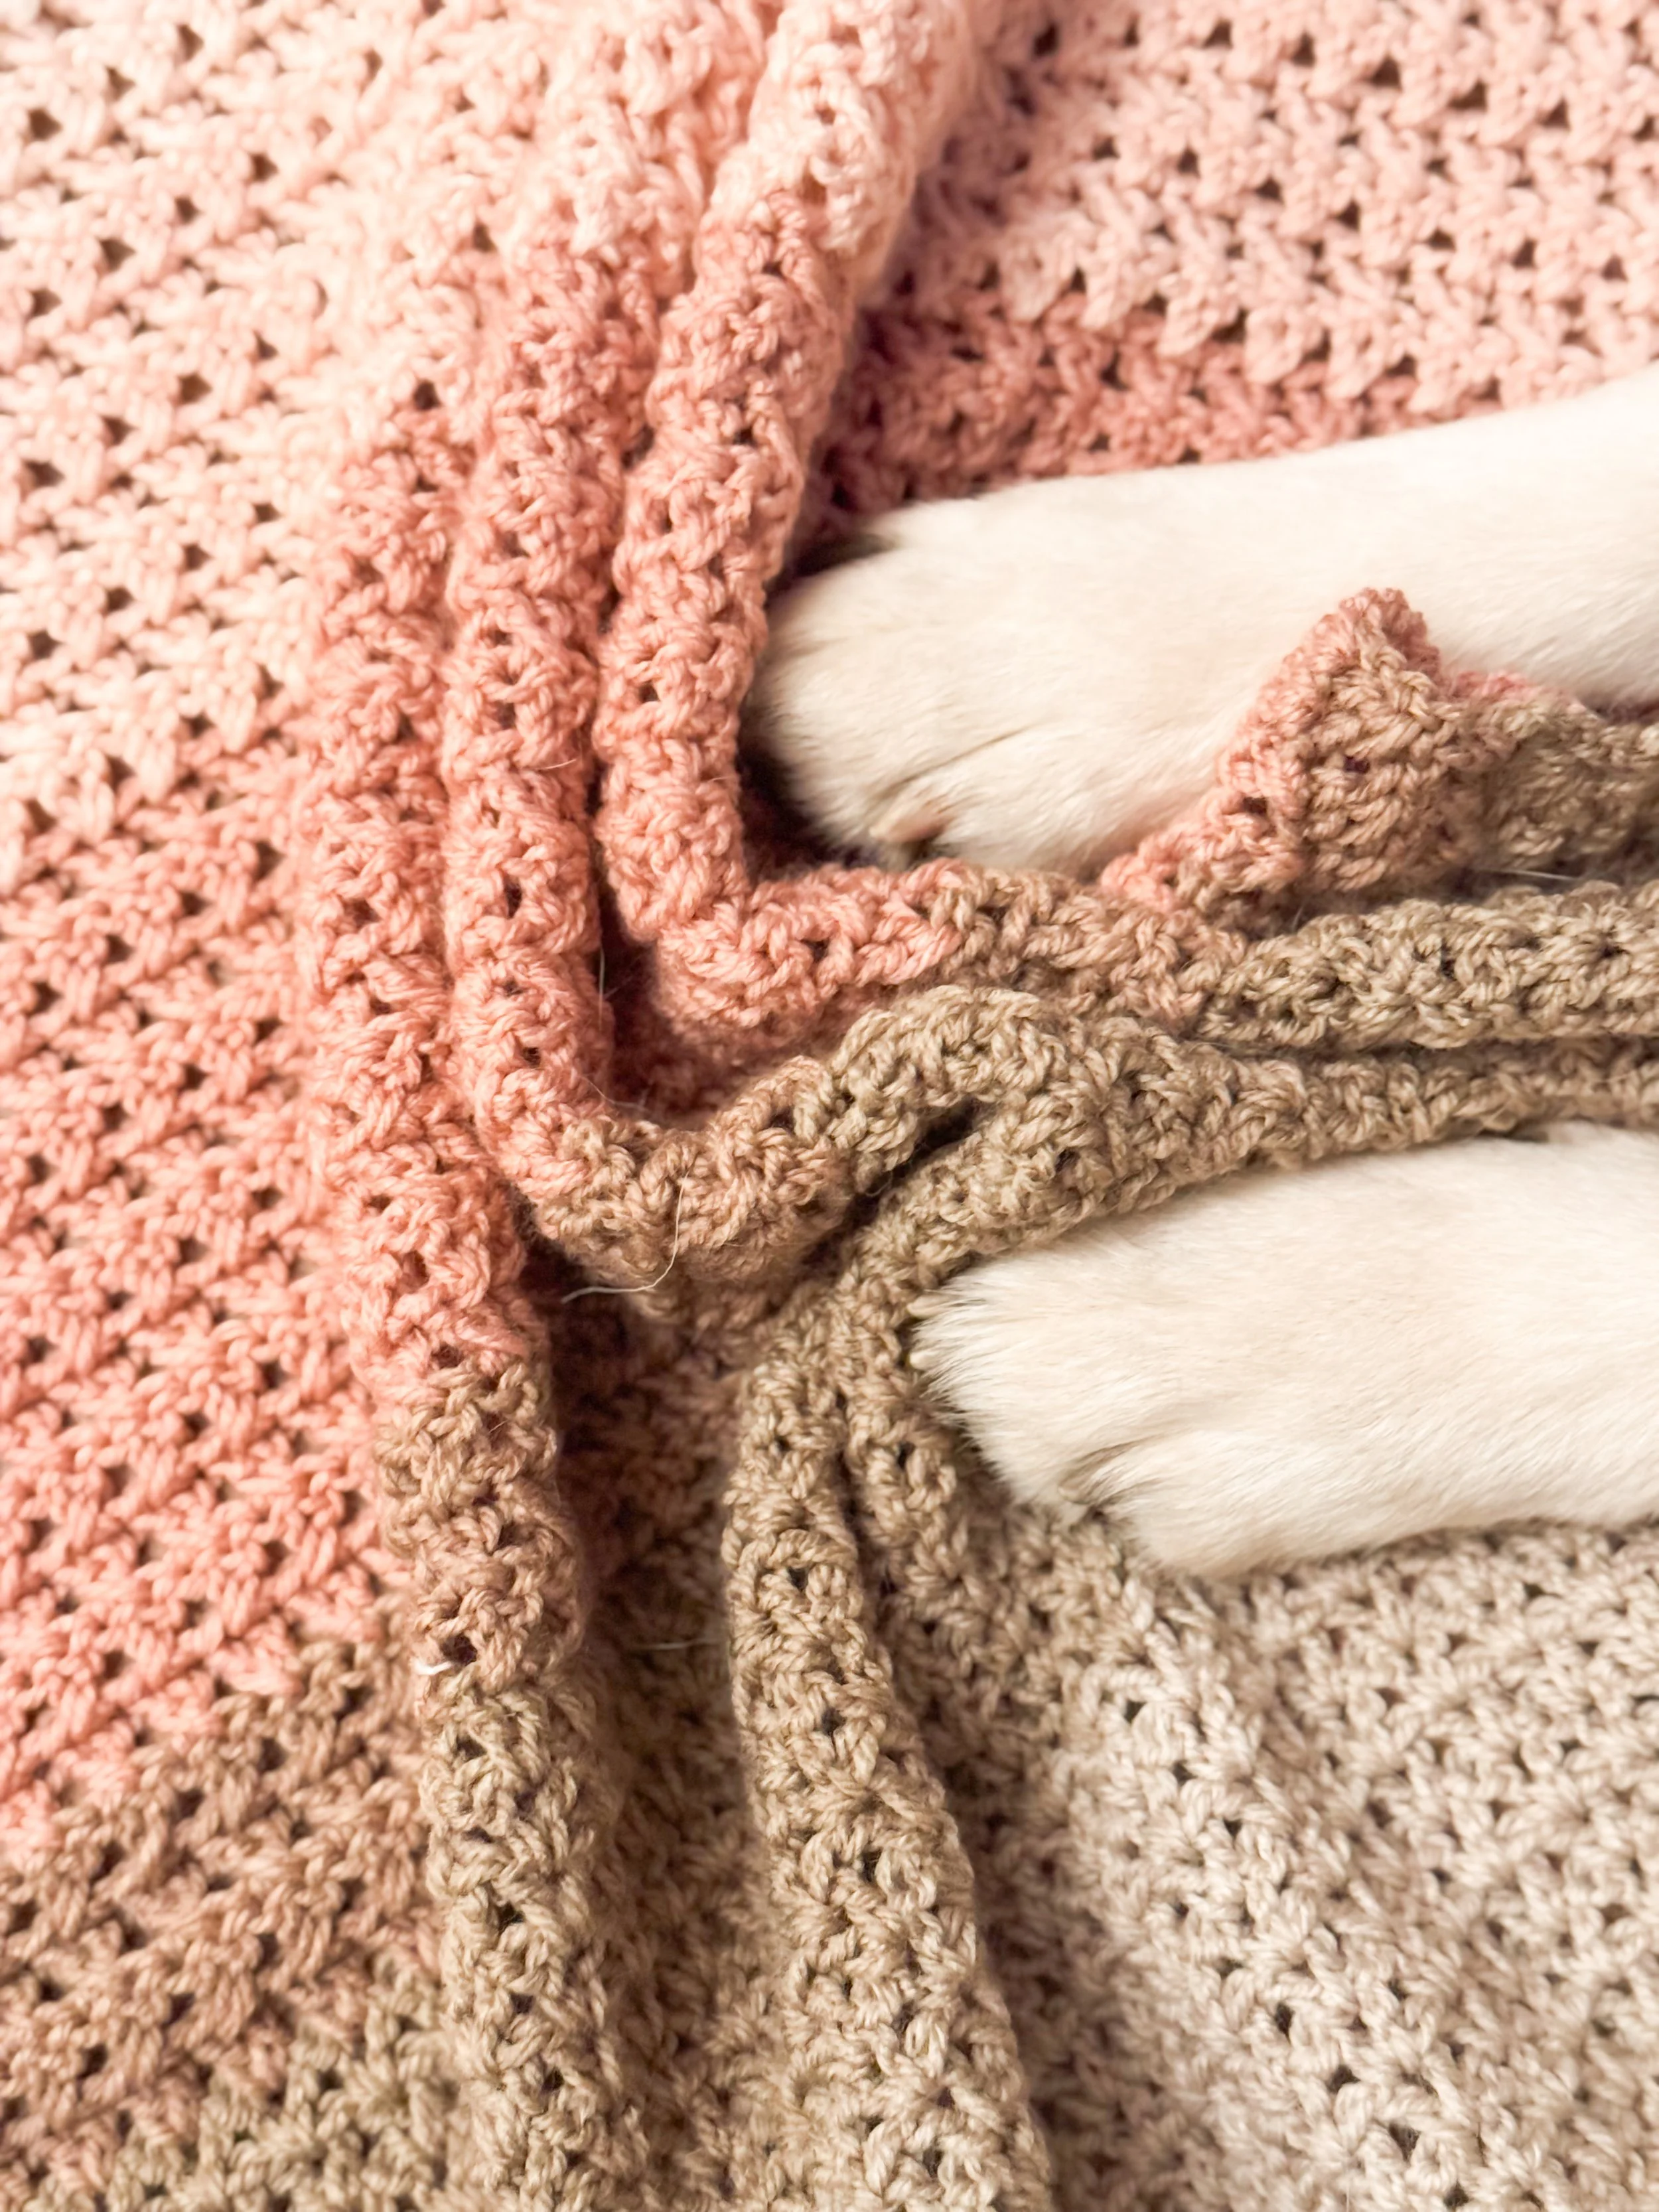
This throw is worked diagonally on the bias, which means it starts from one corner and grows into a square shape. I used a self-striping yarn, so the colors effortlessly change on their own, making it a relaxing project with very few ends to weave in. Plus, the stripes create a beautiful effect that pairs so well with the different stitch patterns.
What makes this throw especially fun is that it’s not just rows of the same stitch—it's packed with four different textures that keep things interesting without being too complicated. It’s perfect for adventurous beginners or anyone looking for a soothing, creative project. The stitch repeats are easy to memorize, so it's great for movie nights or crochet-on-the-go.
And one of my favorite parts? It’s super easy to customize. Want a baby blanket? Just stop increasing sooner. Looking for a large throw for your couch? Keep going! The square shape makes it intuitive to size up or down depending on your needs.
Whether you’re crocheting for yourself or making a gift, the Spring Joy Throw is a cheerful, satisfying project that you'll love working on—and wrapping up in.

Yarn & Kit Info
The Spring Joy Throw is available as a kit with Lion Brand Yarn, which includes both the pattern and the yarn I used—Mandala, a gorgeous self-striping yarn that does all the color work for you. I love how the shades effortlessly flow into one another, giving the throw that joyful, painterly look.
Even better? It only takes two skeins to make this full-sized square throw. That’s it! It’s an incredibly affordable project, which makes it perfect for gifting or just treating yourself.
And if you want to make it your own, Mandala comes in tons of other beautiful colorways—so feel free to swap in a different one that suits your style or space. Any self-striping or gradient yarn with a similar weight will work beautifully with this pattern.
NOTES
Please see my YouTube for pattern/stitch tutorials. www.youtube.com/@whistleandwool
Written in a formula type breakdown so you can adjust yarn size if preferred.
Beginning Chain counts as a stitch.
This throw is worked on the bias, diagonal.
Sections of texture will start over row count wise for easier tracking. Sections will also start on the wrong side or right side, just work the rows stated or 12” (30.5 cm)for each section.
If you find your increases aren’t keeping a straight 90 degree angle on the sides, add an extra increase row. Instead of every 3rd row increase for instance, do the increase every other. If you find it’s bowing out too much, adjust your gauge by skipping the next increase and working a plain row, then working an increase row.
Gauge can affect the straight line, if it’s a slight tilt, blocking will fix it. If you need assistance please reach out via email and I can help when I see a photo of your work in progress.
When I joined my second mandala skein I began it on the color I left off on.
Block to shape.
GAUGE
**Please check your gauge before you start this Pattern to match the finished measurements for this pattern:
It’s best to make your swatch slightly bigger than what the pattern states it should measure so you can measure it in the center of your square, getting an accurate reading. You can do this by adding 2 additional stitches and work 2 additional rows. Do not count the first and last stitch in your measurement or the first and last row.
Hook Size Suggestions:
If your swatch has less stitches, swatch again using a smaller hook.
If your swatch has more stitches, swatch again using a larger hook.
Finished Measurements
Finished Measurements
Width x Length
43” x 43” (109 x 109 cm) Square
Texture Sections:
Measures 12” (30.5 cm)
Stitches to Know
ch. Chain
ch sp. Chain Space
dc. Double Crochet
2dc. Double Crochet 2 sts into the same space
4dc. Double Crochet 4 sts into the same space
Dc2tog. Double crochet 2 stitch together.
Hdc Half Double Crochet
sk. Skip
st(s) Stitch(es)
Please see my YouTube for pattern/stitch tutorials or email me to make you one of a stitch.

**This Pattern is a copyright of Whistle and Wool© so you may not copy, alter, adjust, share, record, redistribute or resell my Pattern. No tutorials or any kind of demonstrations may be made using any information contained in my Pattern. I do not mind if you wish to sell a completed HANDMADE item and you are a small independently owned business, however, you do not have permission to use ANY of my photos. If you do sell a completed item, please list credit of the design belonging to me, Whistle and Wool and a link to my shop. www.WhistleandWool.com
Pattern
Written in a formula type breakdown so you can adjust yarn size if preferred. This also helps keeping the counting of rows easier. Every 2nd or 4th row worked (each texture is different so see what section you are on) just look back when you finish a row to make sure you did your increases and your row stitch amounts will be okay. This keeps it easy and we don’t need to count hundreds of sts every row. See the notes to self adjust stitch counts because maintaining your sqaure shape is whats most important. You may work less increases or more depending on the yarn you used or gauge.
Chain 3 sts
Row 1: Working into the 2nd chain from the hook, dc twice into it for your beginning increase. [2sts]
Row 2: Ch2, turn, 2hdc into each st. [4 sts]
Row 3: Ch2, turn, 2hdc in the first st, hdc into each st until the last st, 2hdc. [6 sts]
Row 4: Ch2, turn, 2hdc, 2hdc, hdc in each st till the last 2, 2hdc, 2hdc. [10 sts]
Row 5-7: Repeat Row 3. [16 sts]
Row 8: Repeat Row 4. [20 sts]
Row 9: Ch2, 2hdc, (sk1, hdc1 into the next st) repeat this pattern until the last 2 sts, ch1, sk1, 2hdc in last st
Row 10-11: Repeat Row 3. [24 sts]
Row 12; Repeat Row 4. [28 sts]
Row 13-15: Repeat Row 3. [36 sts]
Row 16: Repeat Row 4. [40 sts]
Row 17-18: Repeat Row 3. [42 sts]
Row 19: Repeat Row 9.
Row 20: Repeat Row 4. [46 sts]
Repeat Rows 11-20. See below note:
Section will measure 12” (30.5 cm)when completed or 39 rows. Ends on a “sk1 hdc1” row. Measures 12” (30.5 cm)
Dc V-Stitch - row count starts over for easy tracking
Row 1: Ch2, turn, 2dc in the first st, *2dc in the ch1 space from the row below, sk1, repeat after the * for the row until the last st, 2dc in the last st.
Row 2: Ch2, turn, 2dc into between the 2dc set below, to form a V texture, continue working 2dc’s between the 2dc below for the row.
Row 3: Ch2, turn, work 4 dcs for an increase in the 1st (between dc’s below), work your 2dc between each dc set for the row until the last st, 4dc. [stitch count increases by 4]
Row 4-28: Repeat Rows 3-4.
Measures 12” (30.5 cm)
X-Stitch Texture
Row 1: Ch2, turn, X stitch for the row (sk1, dc1 in the next stitch, with hook in front of your work, dc1 into the skipped st), repeat.
Row 2: Ch2, 4dc, X stitch for the row until the last st, 4dc. [st count increases by 4]
Row 3-17: Repeat Rows 1-2.
DECREASE SECTION FOR THE SQUARE SHAPING
Row 18: Repeat Row 1.
Row 19: Ch2, turn, dc2tog, dc2tog, X stitch the row until the last 4 sts, dc2tog, dc2tog. [st count decreases by 4 sts]
Row 20-26: Repeat Rows 1-2. Measures 12” (30.5 cm)
Dc V-Stitch Decrease section
Row 1: Ch2, turn, *sk1, 2dc in the next stitch, repeat after * for the row.
Row 2: Ch2, turn, V stitch the row (dc twice into the space between the 2dc in the row below, forming a V texture).
Row 3: Ch2, turn, skip the first V stitch below, *2dc into the V stitch below (decrease worked), repeat after the row until the last 4 sts, sk1, dc once between the V set, sk1, dc1 into the last V dc set (decrease of 4 sts for the row made).
Row 4-27: Repeat Rows 2-3.
Working after the dec row. The first V stitch goes between the 2dc decreases from your previous row.
Measures 12” (30.5 cm)
Decrease Hdc Texture
Row 1: Ch2, turn, *sk1, hdc1 in the next st, repeat after * for the row.
Row 2: Ch2, hdc into each st for the row.
Row 3: Ch2, turn, sk1, hdc1 into each stitch until the last 2 sts, sk1, hdc1 in the last st. (Decreased 2 sts)
Row 4-8: Repeat Rows 2-3.
Row 9: Repeat Row 1.
Row 10: Repeat Row 3.
Repeat Rows 1-10. Measures 12” (30.5 cm)
When you get to the last 2 sts, dc2tog.
Cut yarn and weave in all your ends.
Hdc Edging
Step 1: Attach your yarn in the corner with a ch2, hdc around the entire edge of the throw. Slip stitch to join it in the round when you reach the start again.
Step 2: I worked 1 hdc per hdc row edging, 2 hdc’s per dc row edging. If you find for your gauge it’s pulling inwards, add a few sts to accommodate so it lays flat.
Step 3: f you edging is getting wavy, go back and remove a few sts, working less sts per row edge.
