Soiree Set
A bit of inspiration behind the name:
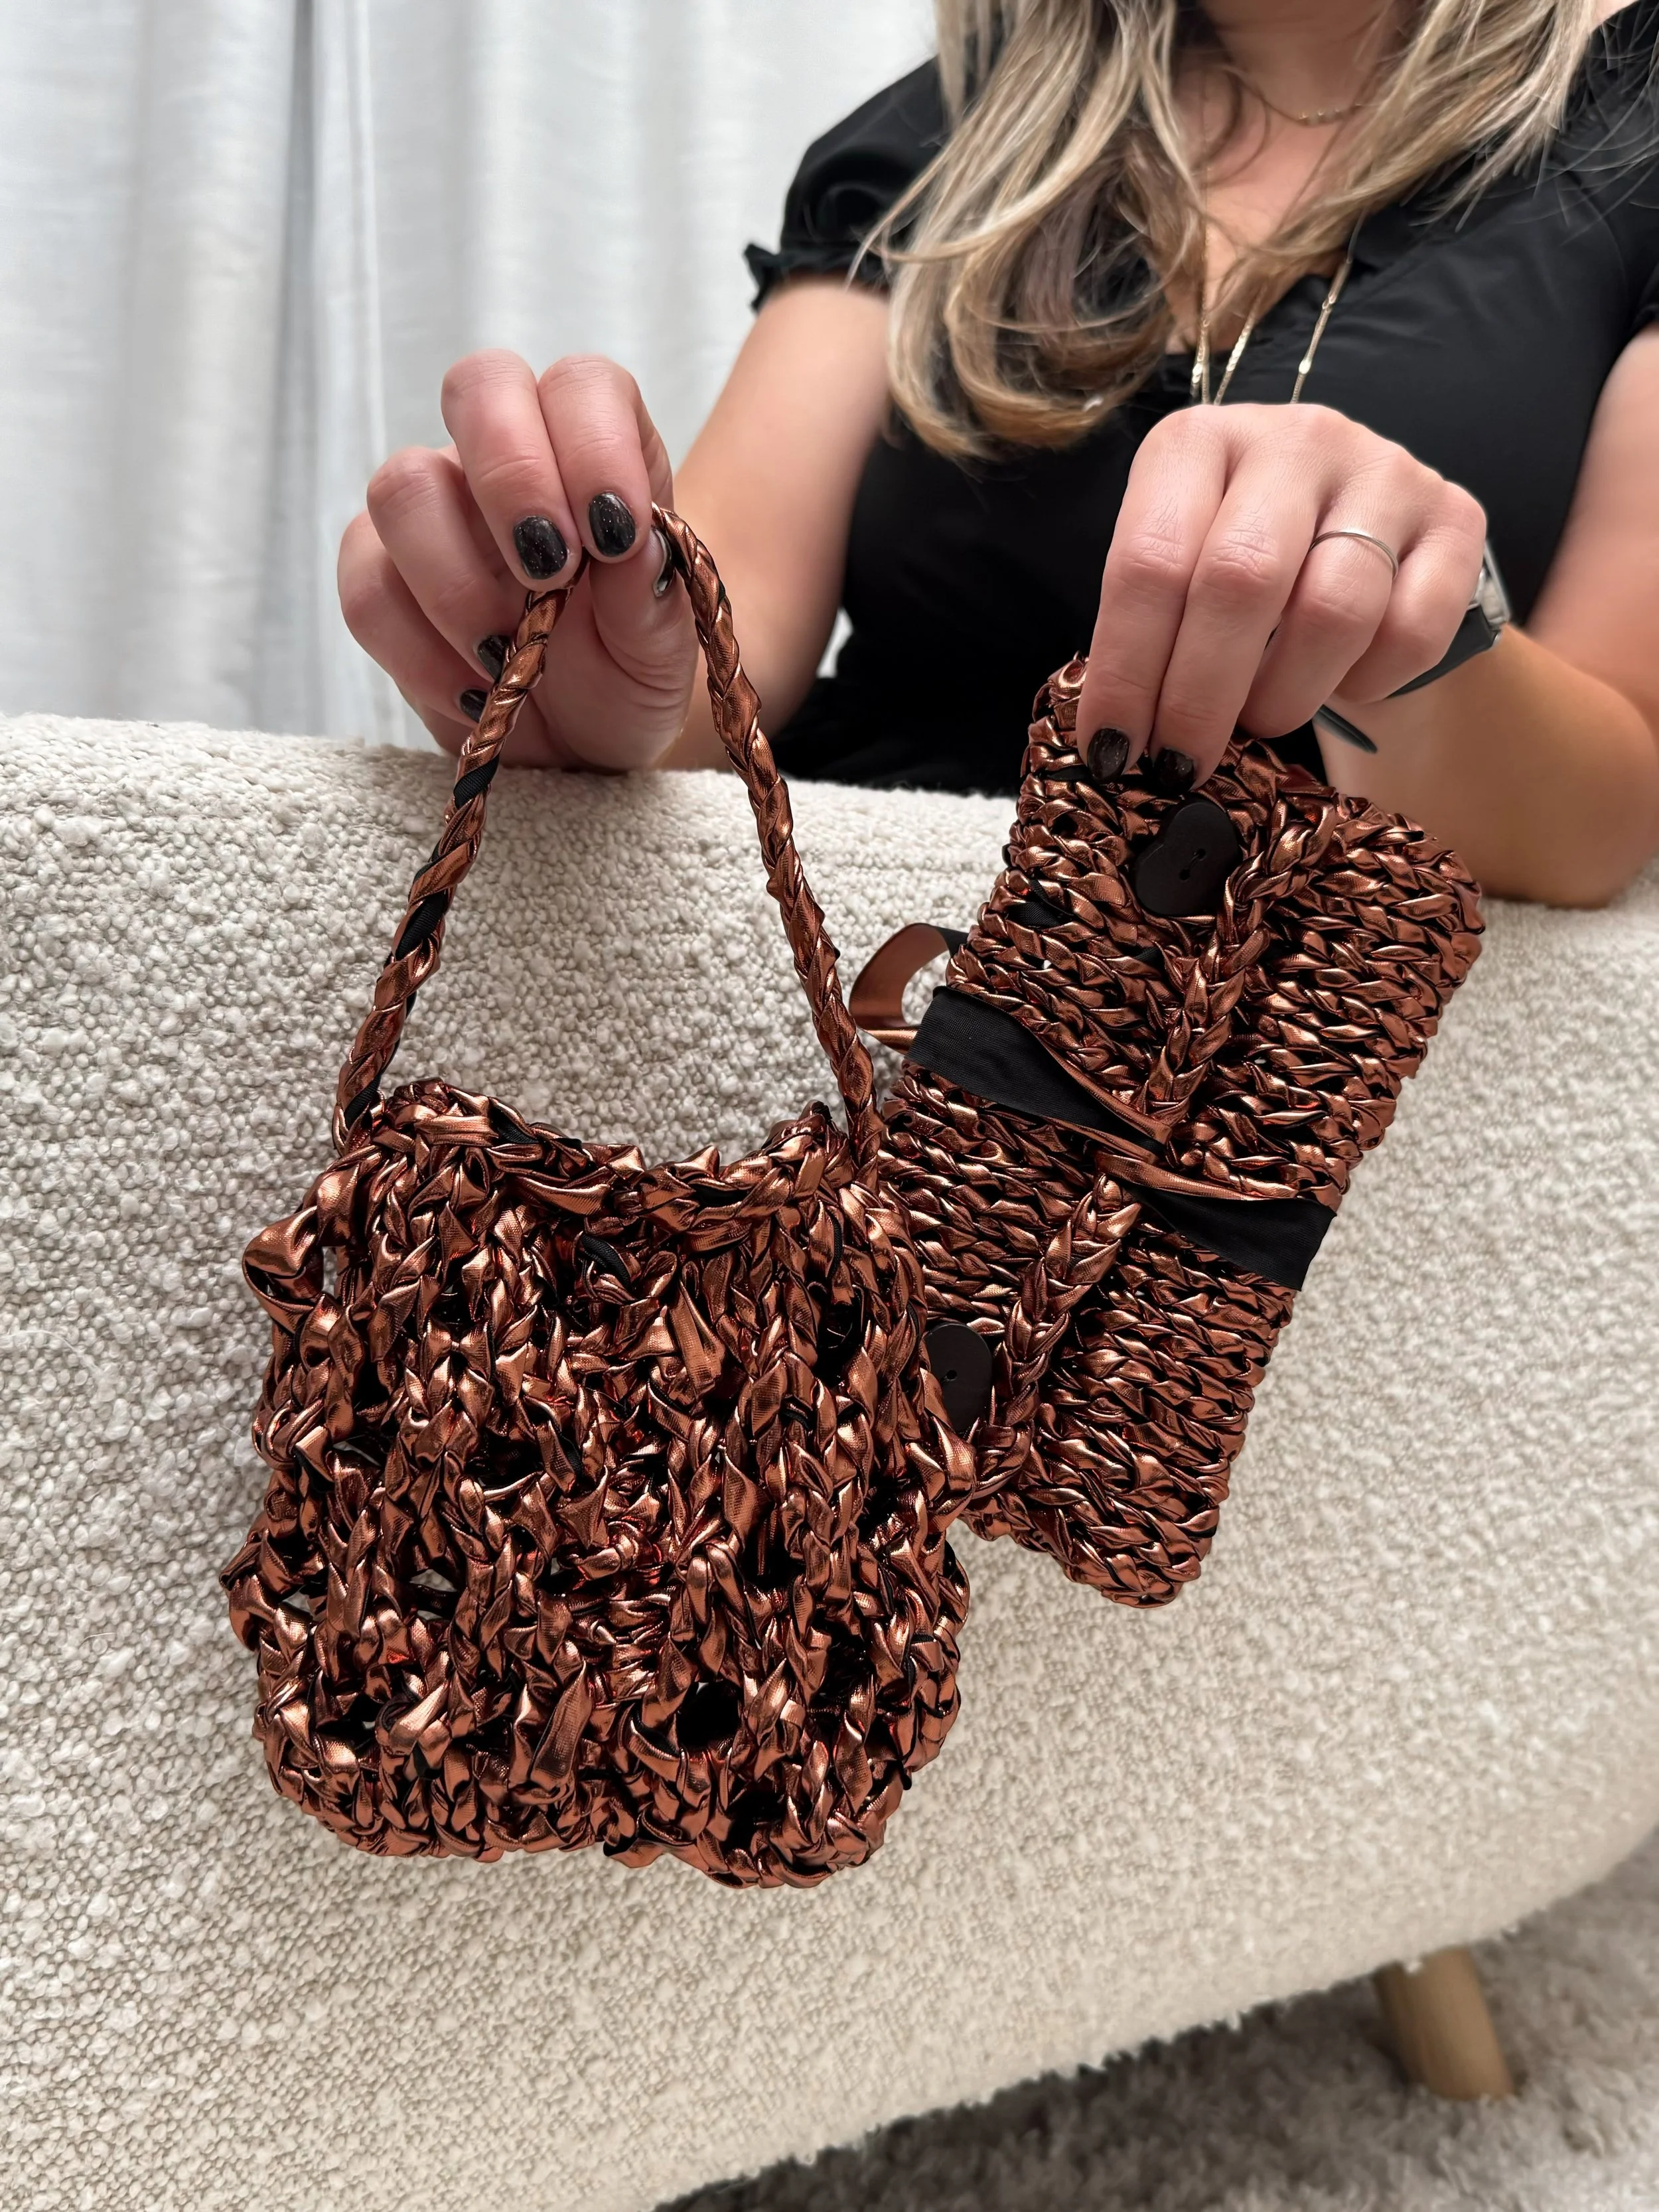
When Lion Brand Yarn came out with this faux leather yarn I couldn’t wait to try it for myself. When it showed up at my door and I saw the awesome shimmer it had I knew I wanted the design to have a bit of glam! These two glitzy accessories work up in under a few hours each and will add a little wow to any outfit if you ask me :) They're that cute little accessory when you’re only taking your keys and phone and don’t need all the other stuff. If you want to sub the yarn I used for anything else, I recommend another sturdy yarn, like cotton or a cord yarn. The bows can easily be made using ribbon.
METHOD Knitting
DIFFICULTY
Beginner Plus
SIZES Clutch and Purse
DESCRIPTION
Perfect for the end of year parties or date night when you need that little bit of glamour and sparkle!! To make these you will need 2 buttons for the clutch closure but everything else is yarn!
YARN
Lion Brand Yarn, Faux Leather, #6, 4.2oz/120g, 39yd/36m, 100% Polyester Featured in “Bronze”
Skeins needed: 2
NEEDLE
US 15 (10 mm)
NOTIONS
Yarn Needle, Scissors, 2- 1”(2.5cm) buttons
GAUGE
9 sts x 12 rows = 4” (10 cm) in Stockinette (no blocking needed)
PROJECT TIMELINE:
I love a quick gift and project so when Lion Brand came out with this yarn and I had it in my little crafty hands it immediately felt fancy. These projects only took about 2 hrs - start to finish. This yarn is also a fun switch up from the usual soft and squishy ones I typcially use. This is definately fabric like, it has no stretch which means your little clutch and purse will hold their shape for quite some time AND this doesn’t need blocking.
NEEDLE + YARN INFO:
Since this yarn has no stretch that also means it can be a bit hard on the hands if you have a tendency to knit tight. Definately work a swatch to get your flow down. If you knit this too tight you’ll have to pull the stitches through. How do I know this lol I originally started with the stated needed size and quickly noticed I’d prefer a bigger needle to create some room between the loops and let it flow off my needles. I also preferred my wood needles because it slipped off of them. My metal needles tended to grip to the shiny texture and it wasn’t super fun. Once I figured out the right needle combo I was a happy little knitter.
BOW HOW TO:
This yarn is basically rolled together, so theres no need to focus on having the shiny side showing, even when I noticed the inside black tone, it almost never showed up on my project and if it did from time to time it was a cute vibe and I loved it. This is also why I added the bow to the front, if for some reason the inside shows, the inner side pee a boos match the bow and it all flows.
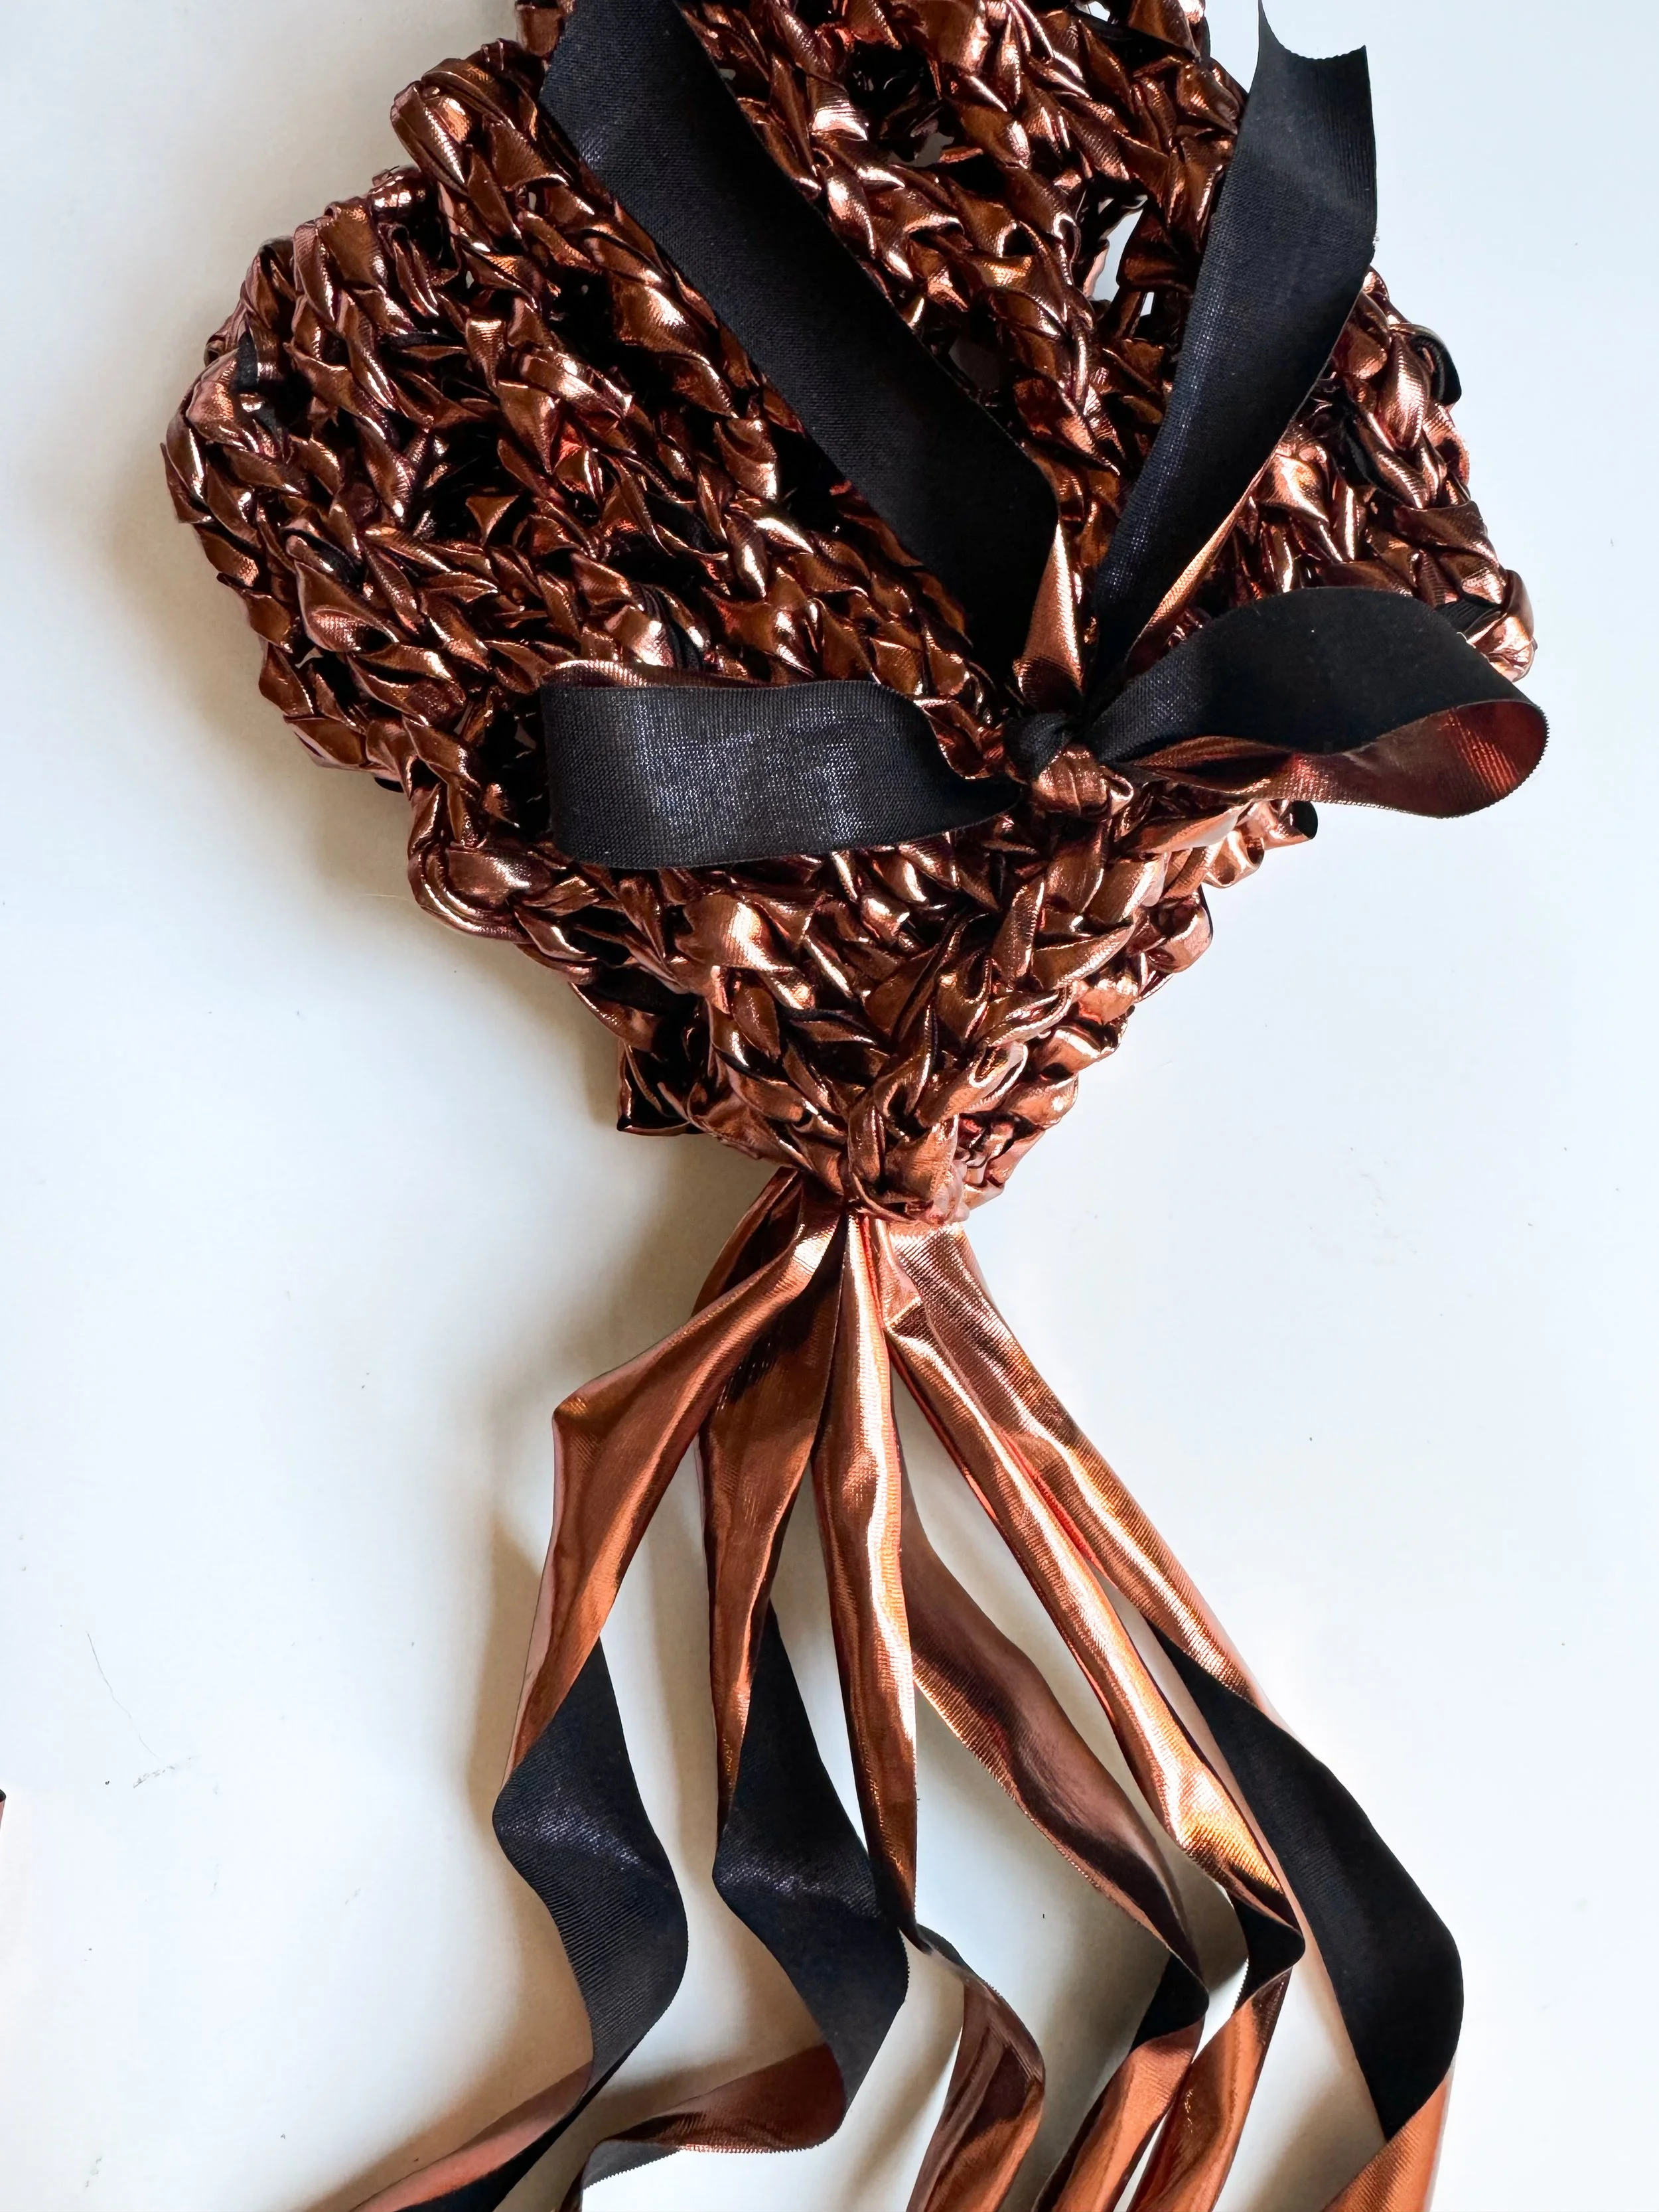
Did you think the bows were ribbon? AGREED and that was an awesome aspect of this yarn. I ironed the yarn flat along the inside, I think the shiny side may melt, I dunno, didn’t even test that theory haha. When I ironed it flat I got a lovely 3/4” thickness of pretty black ribbon that tied nicely to both pieces meaning all I needed for this project was the yarn and buttons, and the sweet delicateness of the bow made it feel pretty and put together when I held these. I LOVED IT!!!
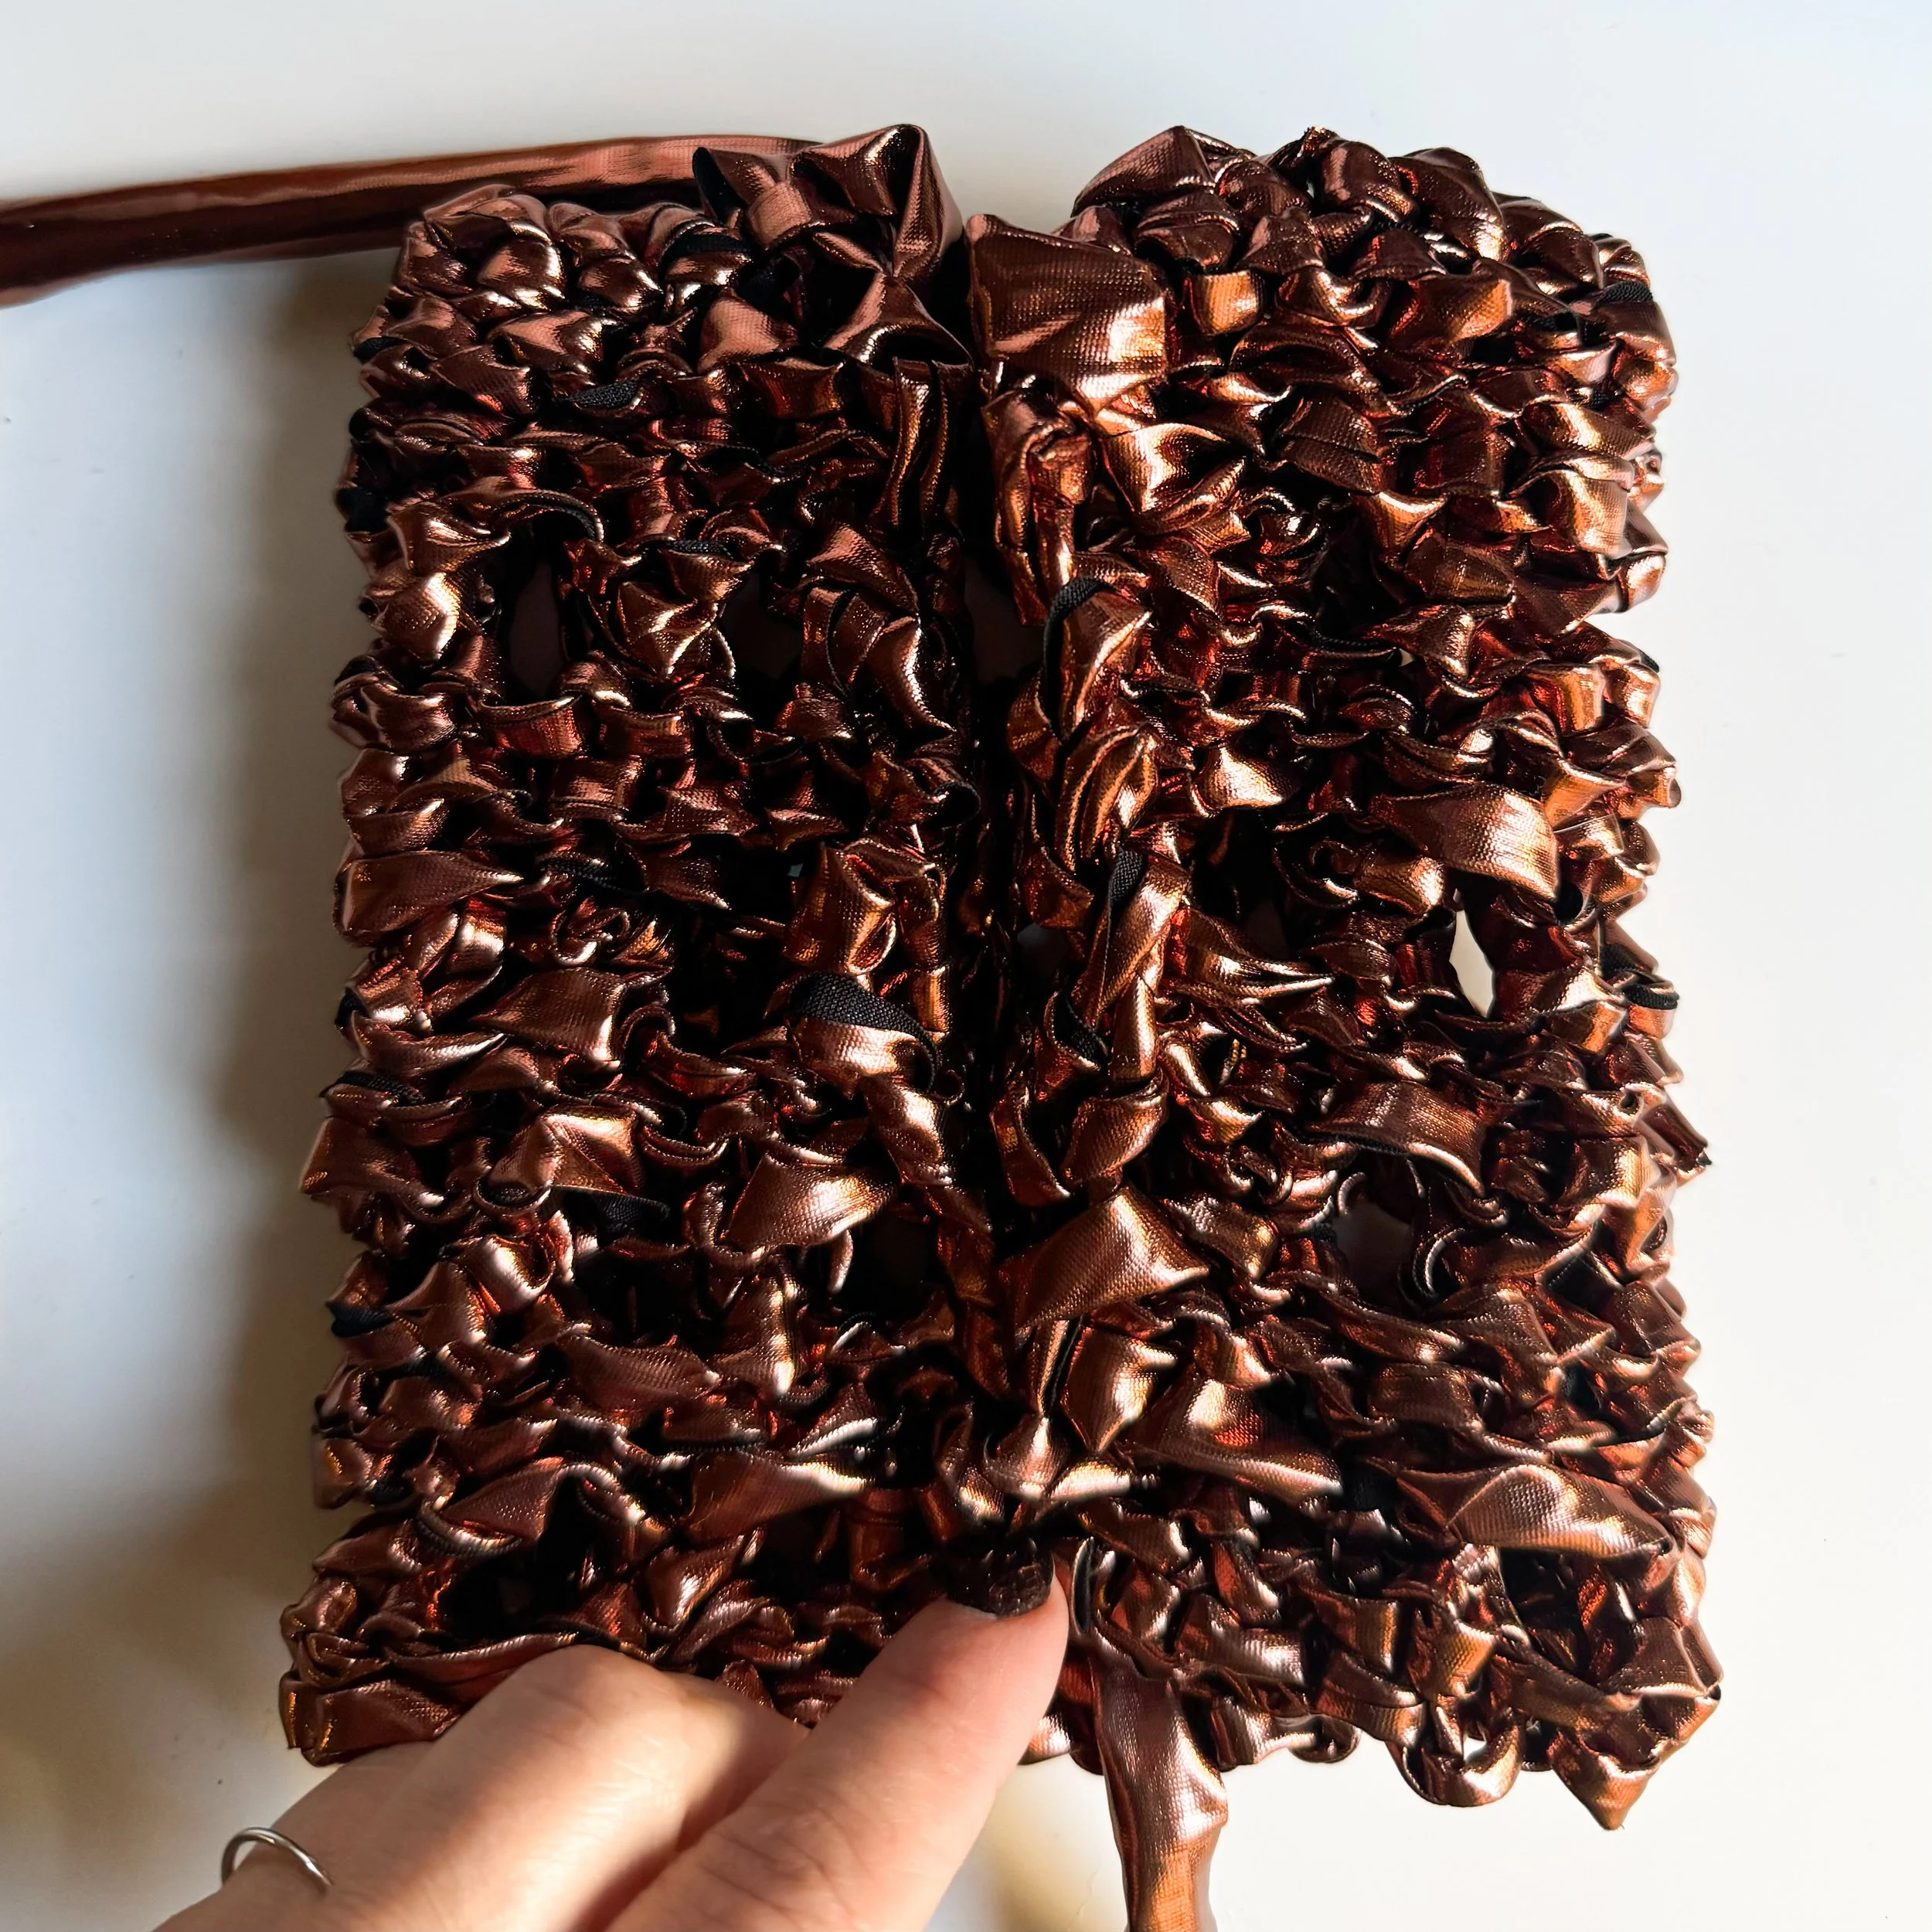
What does the back look like? Here you go, just as pretty as the front. I added seams to both to add durability and keeping it beginner friendly too :)
FILL IN
NOTES
Written in US Terms.
If you want to sub the yarn used for black ribbon to make the bows, it measured ¾” thick.
Both the clutch and the purse use seams to add structure to this already solid yarn.
A fabric yarn can be a bit stiff on the hands after a while so if needed, take a wee break here and there. I took maybe 1 break per item and I was good to go!
I found the yarn slipped better over my wooden needles. but that may just be a preference.
GAUGE
**Please check your gauge before you start this pattern to match the finished measurements for this pattern:
It’s best to make your swatch slightly bigger than what the pattern states it should measure so you can measure it in the center of your square, getting an accurate reading. You can do this by adding 2 additional stitches and working 2 additional rows. Do not count the first and last stitch in your measurement or the first and last row.
Needle Size Suggestions:
If your swatch has less stitches, swatch again using a smaller needle.
If your swatch has more stitches, swatch again using a larger needle.
Finished Measurements
Clutch/ Purse
7.5” (19 cm) / 5.5” (14 cm)
4” (10 cm) / 6” (15 cm)
Stitches to Know
Stitches to Know
k Knit
k2tog Knit two stitches together for a decrease
p Purl
st(sts) Stitch(es)
RS. Right Side
WS. Wrong Side
*When cutting your working yarn, leave a long enough tail so you can easily sew in your ends.
Techniques
Stockinetter: Knit the RS rows and purl the WS rows.
**This Pattern is a copyright of Whistle and Wool© so you may not copy, alter, adjust, share, record, redistribute or resell my Pattern. No tutorials or any kind of demonstrations may be made using any information contained in my Pattern. I do not mind if you wish to sell a completed HANDMADE item and you are a small independently owned business, however, you do not have permission to use ANY of my photos. If you do sell a completed item, please list credit of the design belonging to me, Whistle and Wool and a link to my shop. www.WhistleandWool.com
Pattern
Clutch
Cast on. 18 sts
Row 1-28: Work in Stockinette. [18 sts]
Button Row
Row 29: (RS) k2, yo, k2tog, k12, yo, k2tog, k1. [18 sts]
Row 30: (WS) Purl.
Bind off in knit. Cut yarn and weave in your ends.
Measure 7.5”W x 12” H
Seaming
Step 1: Place your rectangle down, RS up.
Step 2: Fold the bottom up 4” (10 cm) to form the clutch pouch. (Pic 1). Whip Stitch up the sides. Turn it right side out (Pic 2). Next we will sew the buttons onto the front of this pouch.
Step 3: Fold the top flap down to see where the button holes line up (Pic 3). Sew each of the buttons directly inline with them on the front of the pouch (Pic 4).
Step 4: Cut 2 - 17” long strips of the leather yarn. Iron it flat along the WS of the yarn. Attach one strip with a knot between the buttons, knot hidden on the inside. Attach the other strip just below it on the front of the pouch, knot hidden on the inside (Pic 5). Wrap both pieces to the front and tie in a bow (Pic 6).
Voila! You’re done!
Pattern
Purse
Cast on 25
Row 1-2: Stockinette. [25 sts]
Row 3: (RS) K1, (yo, k2tog) until the last st, k1. [25 sts]
Row 4: (WS) Purl.
Row 5-6: Stockinette.
Row 7-24: Repeat Rows 3-6.
Row 25: Bind off in knit.
Fasten off leaving a 24” (60 cm) tail for seaming.
Measures 11.5” (29 cm) W x 6.” (15) H
Finishing
Step 1: Lay the piece down RS facing you (Pic 1). Fold the two sides into the center (Pic 2) and Whip Stitch the center back seam.
Step 2: Keeping the seam centered in the back, use your 2 remaining tailes to seam together the bottom of the purse.
Step 3: Turn it right side out. Cut a 20” (50 cm) strip of yarn and thread it onto your needles. Beginning in the front of the purse, weave it along the top of the purse under the bind off row.
Step 4: Tie it into a bow (Pic 3).
Straps
Step 1: Cut 3 - 48” (120 cm) long stripes of the yarn.
Step 2: We will add the straps to the sides of the bag. Fold the strips together in half and insert it into one side of the purse, knot the ends on the inside.
Step 3: Braid the strap with 2 strands held together..
Step 4: When you get to 11” (27.5 cm) in length, insert the strip ends into the other side seam under the bind off row and knot them together on the inside of the bag (Pic 3). Trim ends.


