Midwinter Headband
A bit of inspo behind the name:
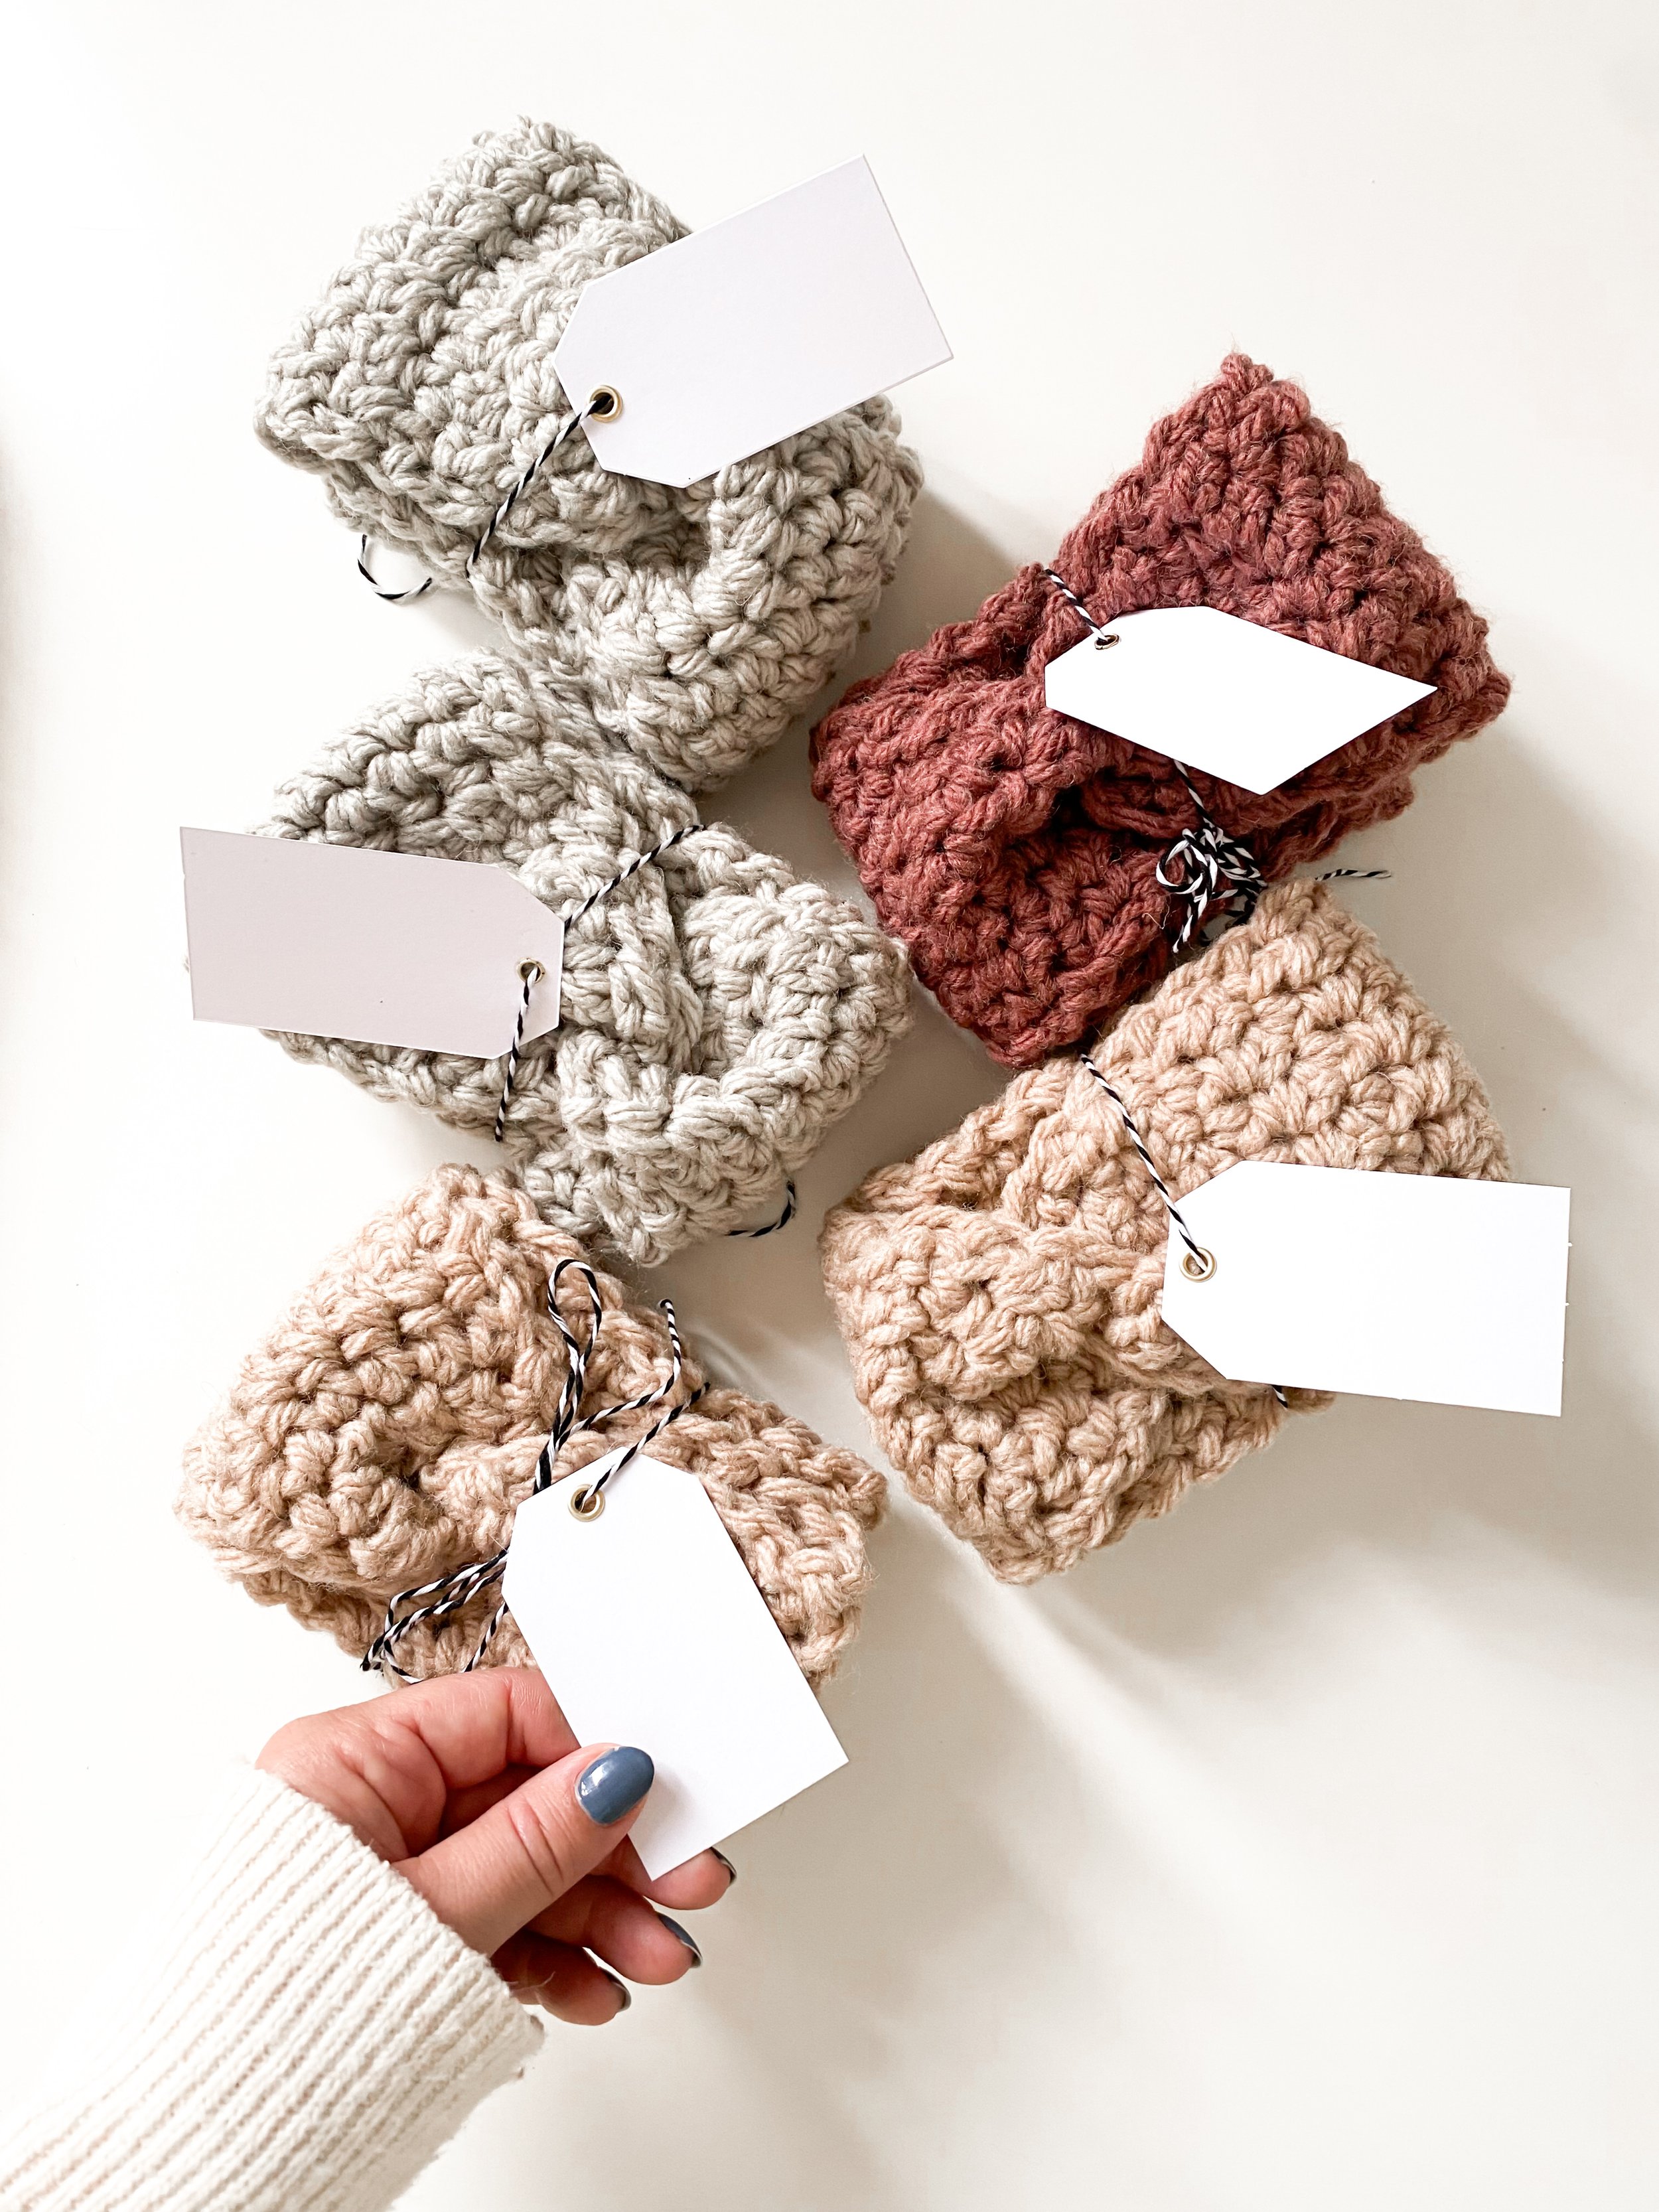
At the end of 2022, I designed a FREE Ravelry pattern as a thank you for all of your sweet support of my designing throughout the year. This year I wanted to continue that with another fun, quick and cozy crochet item to keep your ears toasty warm through Winter. These take 30 minutes to make, making them awesome gifts or for market prep!! Available in multiple sizes for the fam and I know you’ll love it!!
Click here for the FREE printable PDF on Ravelry.
METHOD
Crochet
DIFFICULTY
Easy
SIZES
Toddler (Child, Adult Medium, Large)
DESCRIPTION
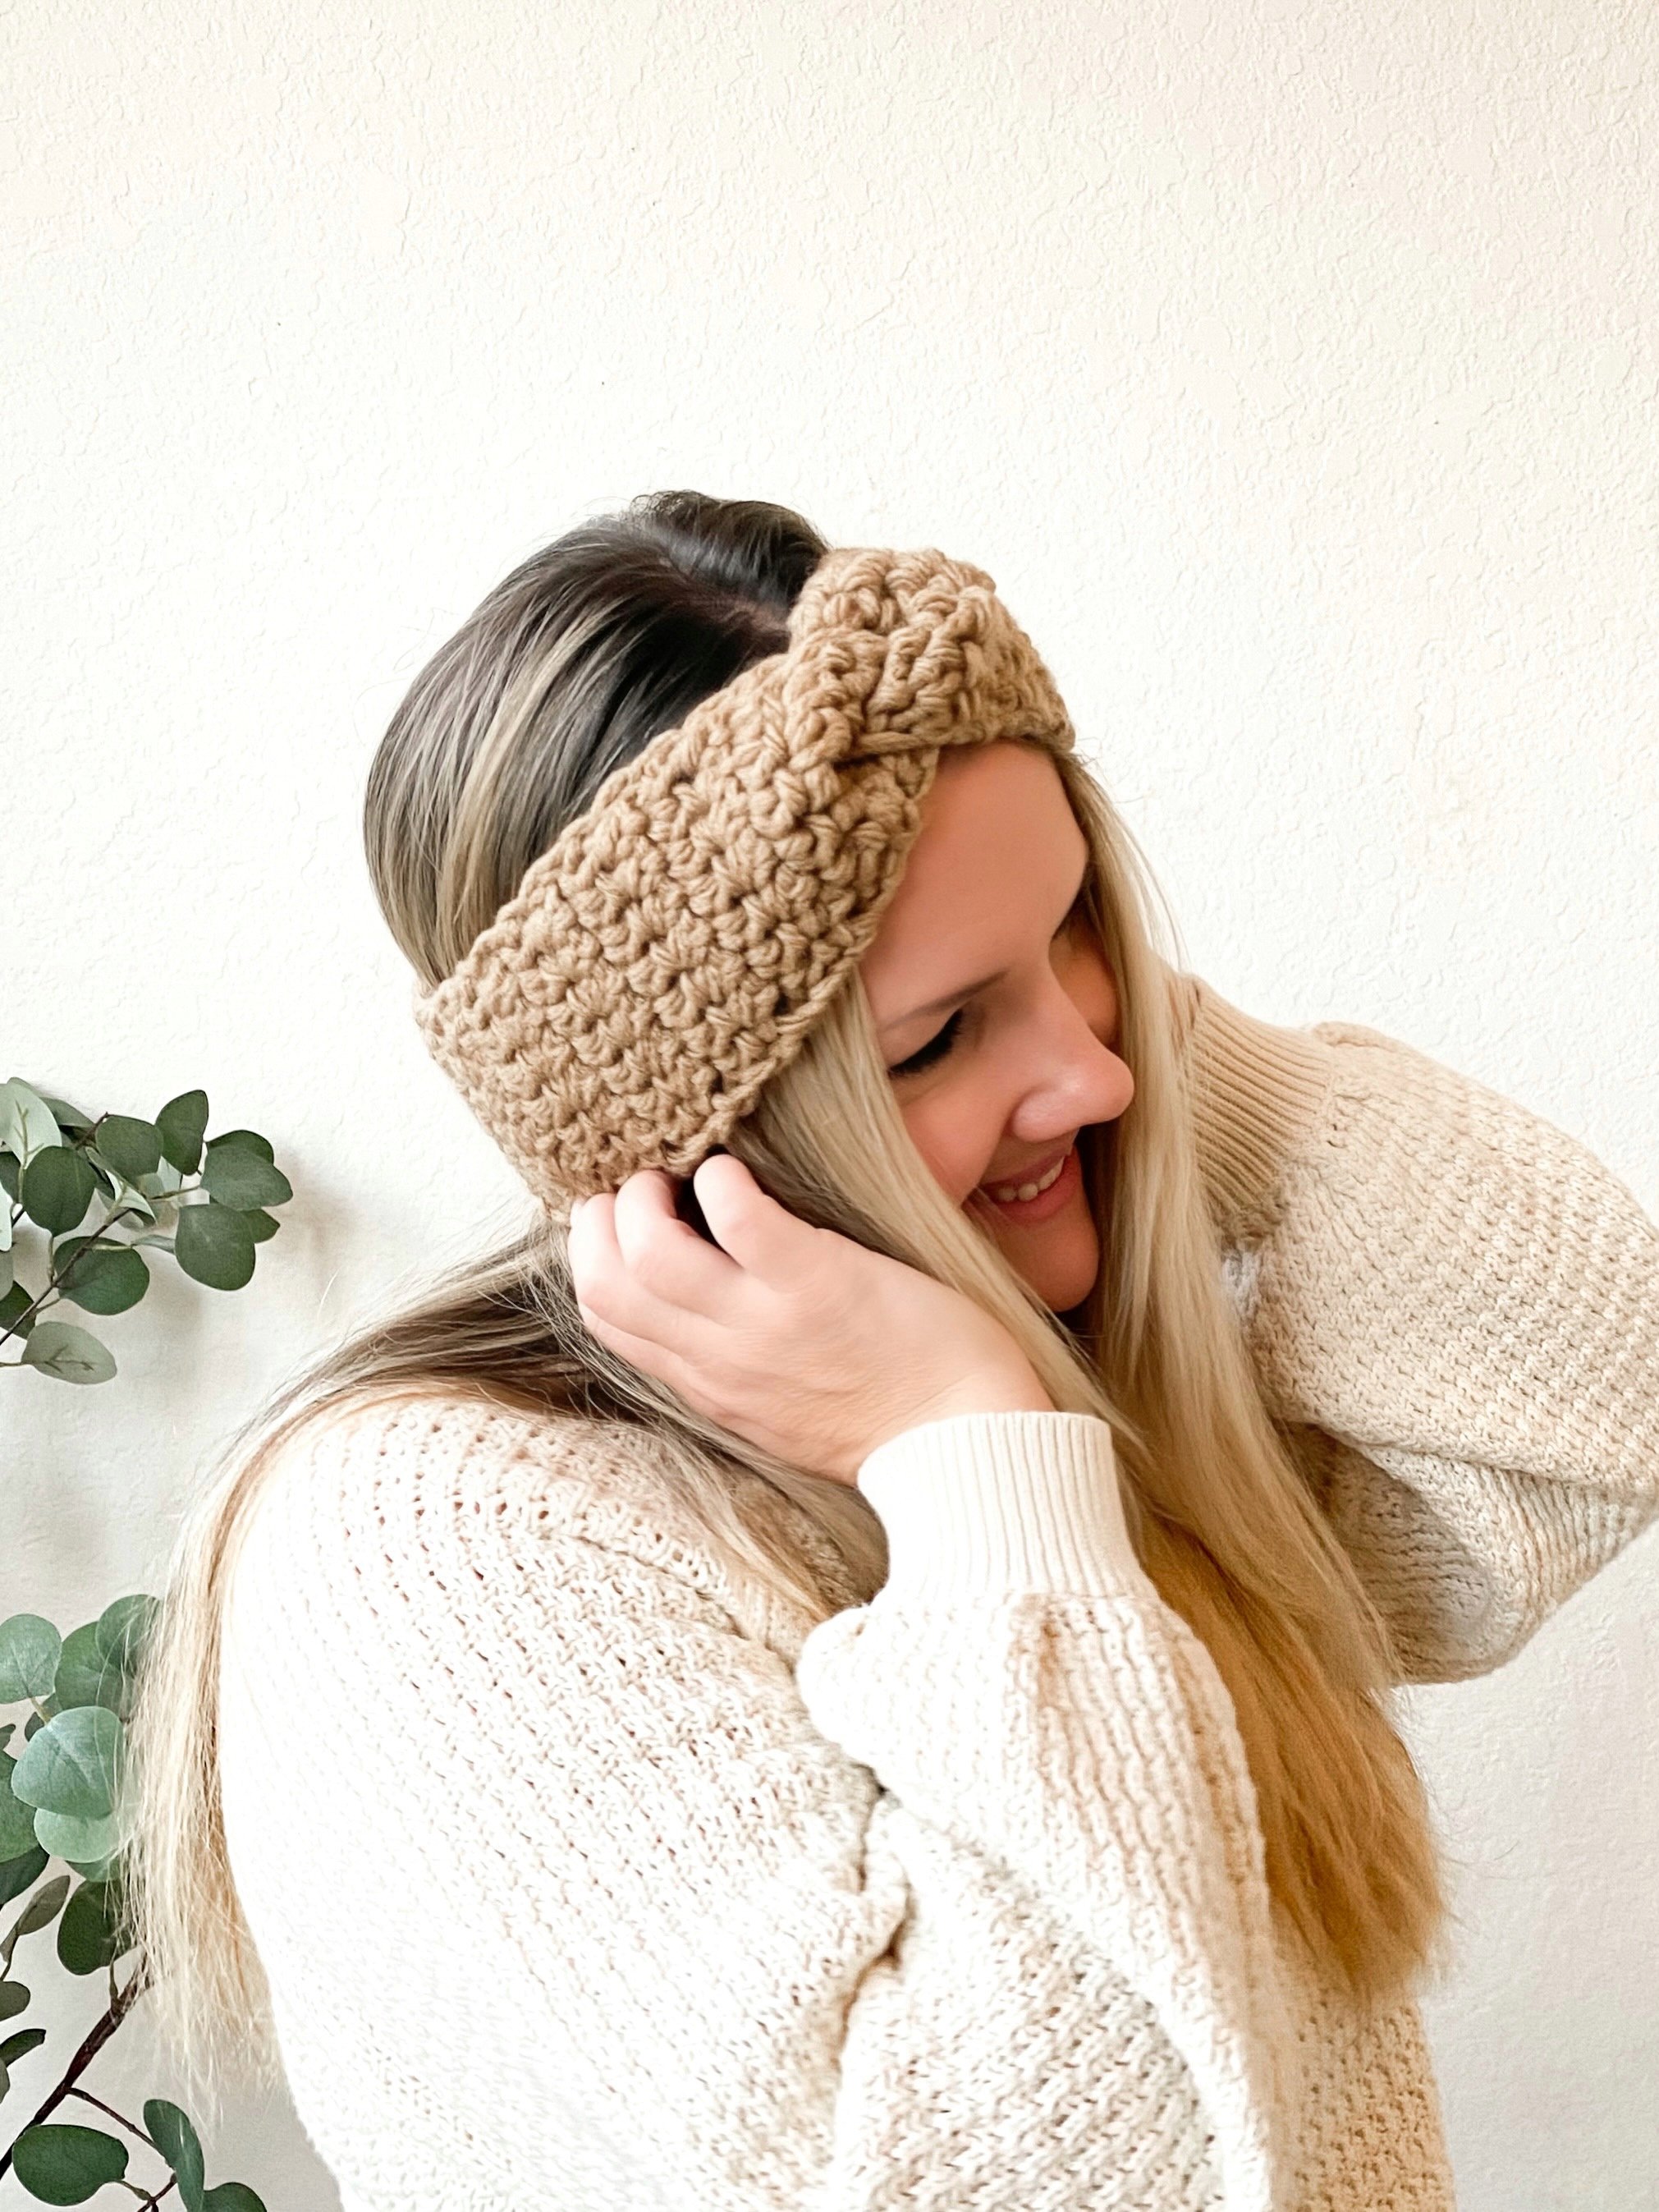
Thank you for another fun year!! I hope you enjoy this easy but classic twist style headband fit for the whole fam! This works up in 30 minutes and makes a wonderful gift or addition to your market prep goodies!
YARN
Lion Brand Yarn
Hue and Me, 4.4oz / 125g, 137yd / 125m
Shown in: Whisper
Yards: 40
HOOK
US L (8mm) or hook needed to obtain gauge
NOTIONS
Yarn Needle for weaving in ends
GAUGE
(blocked)
9 sts x 7.5 rows = 4”
(10 cm) of Esc
NOTES
Beginning chain counts as a stitch in this pattern.
Worked flat, then sewn into a circle to form the headband.
Make the headband length to match closest to your head circumference. Forming the twist takes away length and this helps to keep it fitted but not tight.
Don’t miss my tutorials for stitching and seaming this style headband on my Youtube. www.youtube.com/@whistleandwool
GAUGE
**Please check your gauge before you start this Pattern to match the finished measurements:
It’s best to make your swatch slightly bigger than what the pattern states it should measure so you can measure it in the center of your square, getting an accurate reading. You can do this by adding 2 additional stitches and work 2 additional rows. Do not count the first and last stitch in your measurement or the first and last row.
Hook Size Suggestions:
If your swatch has less stitches, swatch again using a smaller hook.
If your swatch has more stitches, swatch again using a larger hook.
Finished Measurements
Width (laid flat)
3.5” (9 cm)
Length (before seaming)
Toddler 18” (46 cm), Child 20.5” (52 cm), Adult Medium 22.5” (57 cm), Adult Large 23.5” (59.5 cm)
Stitches to Know
ch Chain
Esc Extended Single Crochet
RS Right Side
st(s) Stitch(es)
Headband
Ch 10
Row 1: (RS) In the 3rd ch from the hook, Esc7. [8 sts]
Row 2: Ch2, turn, Esc7. [8 sts]
Row 3-34 (38, 42, 44): Repeat Row 2 until the headband measures: Toddler 18” (46 cm), Child 20” (51 cm), Adult Medium 22.5” (567 cm), Adult Large 23.5” (59.5 cm).
Fasten off leaving a 12” (30.5 cm) tail for seaming.
Seaming the Headband
Step 1: Photo A. RS up, bring the short ends together.
Step 2: Photo B. Overlap the ends halfway across each other and fold one end on top of it and the other end under it. It forms an S shape with the edges, Photo C.
Step 3: Using your long end, thread your yarn needle.
Step 4: Photo D. Sew all 4 edges together. Seam them together in one direction, and then go back again in the opposite direction to make sure you’ve seamed all edges.
Step 5: Weave in your ends and turn right side out.


